(1).参考文献
GitLab英文官方网站安装方法:https://docs.gitlab.com/install/install_methods/
(2).实验环境
4核8G CentOS7.9.2009
已设置阿里云yum源,并且yum -y install epel-release,关闭SELinux和防火墙(如果不关防火墙记得开启80和22端口)。
(3).rpm安装
rpm包官网下载地址:https://packages.gitlab.com/gitlab/gitlab-ce
清华大学开源镜像站:https://mirrors.tuna.tsinghua.edu.cn/gitlab-ce/yum/
通过下载下来的rpm包进行安装,我这里下载的是清华大学开源镜像站里的gitlab-ce-17.1.1-ce.0.el7.x86_64.rpm
#安装依赖
[root@localhost ~]# yum -y install curl policycoreutils-python openssh-server openssh-clients
#rpm安装
[root@localhost ~]# rpm -ivh gitlab-ce-17.1.1-ce.0.el7.x86_64.rpm
#修改配置文件
[root@localhost ~]# vim /etc/gitlab/gitlab.rb
#external_url 'http://gitlab.example.com'修改为本机IP地址,之后保存退出
external_url 'http://192.168.142.102'#重新配置gitlab,会比较久,耐心等待
[root@localhost ~]# gitlab-ctl reconfigure
#启动gitlab
[root@localhost ~]# gitlab-ctl start
ok: run: alertmanager: (pid 13811) 59s
ok: run: gitaly: (pid 13215) 120s
ok: run: gitlab-exporter: (pid 13784) 61s
ok: run: gitlab-kas: (pid 13865) 1s
ok: run: gitlab-workhorse: (pid 13757) 63s
ok: run: logrotate: (pid 13191) 123s
ok: run: nginx: (pid 13769) 63s
ok: run: node-exporter: (pid 13778) 63s
ok: run: postgres-exporter: (pid 13821) 59s
ok: run: postgresql: (pid 13240) 119s
ok: run: prometheus: (pid 13796) 61s
ok: run: puma: (pid 13372) 116s
ok: run: redis: (pid 13201) 122s
ok: run: redis-exporter: (pid 13786) 61s
ok: run: sidekiq: (pid 13393) 110s
#查看gitlab状态
[root@localhost ~]# gitlab-ctl status
run: alertmanager: (pid 13811) 73s; run: log: (pid 13732) 82s
run: gitaly: (pid 13215) 134s; run: log: (pid 12537) 531s
run: gitlab-exporter: (pid 13784) 75s; run: log: (pid 13612) 100s
run: gitlab-kas: (pid 13865) 14s; run: log: (pid 12749) 519s
run: gitlab-workhorse: (pid 13757) 76s; run: log: (pid 13451) 116s
run: logrotate: (pid 13191) 136s; run: log: (pid 12463) 545s
run: nginx: (pid 13769) 76s; run: log: (pid 13505) 112s
run: node-exporter: (pid 13778) 76s; run: log: (pid 13529) 106s
run: postgres-exporter: (pid 13821) 72s; run: log: (pid 13776) 76s
run: postgresql: (pid 13240) 132s; run: log: (pid 12580) 527s
run: prometheus: (pid 13796) 74s; run: log: (pid 13685) 88s
run: puma: (pid 13372) 129s; run: log: (pid 13386) 126s
run: redis: (pid 13201) 135s; run: log: (pid 12504) 537s
run: redis-exporter: (pid 13786) 74s; run: log: (pid 13663) 94s
run: sidekiq: (pid 13393) 123s; run: log: (pid 13415) 120s
#查看gitlab初始密码
[root@localhost ~]# cat /etc/gitlab/initial_root_password
......
Password: vq+/vZMiZIS1Mfjt3Y263eZ8LLP1LG1oUnK9hcUFnSU=
......
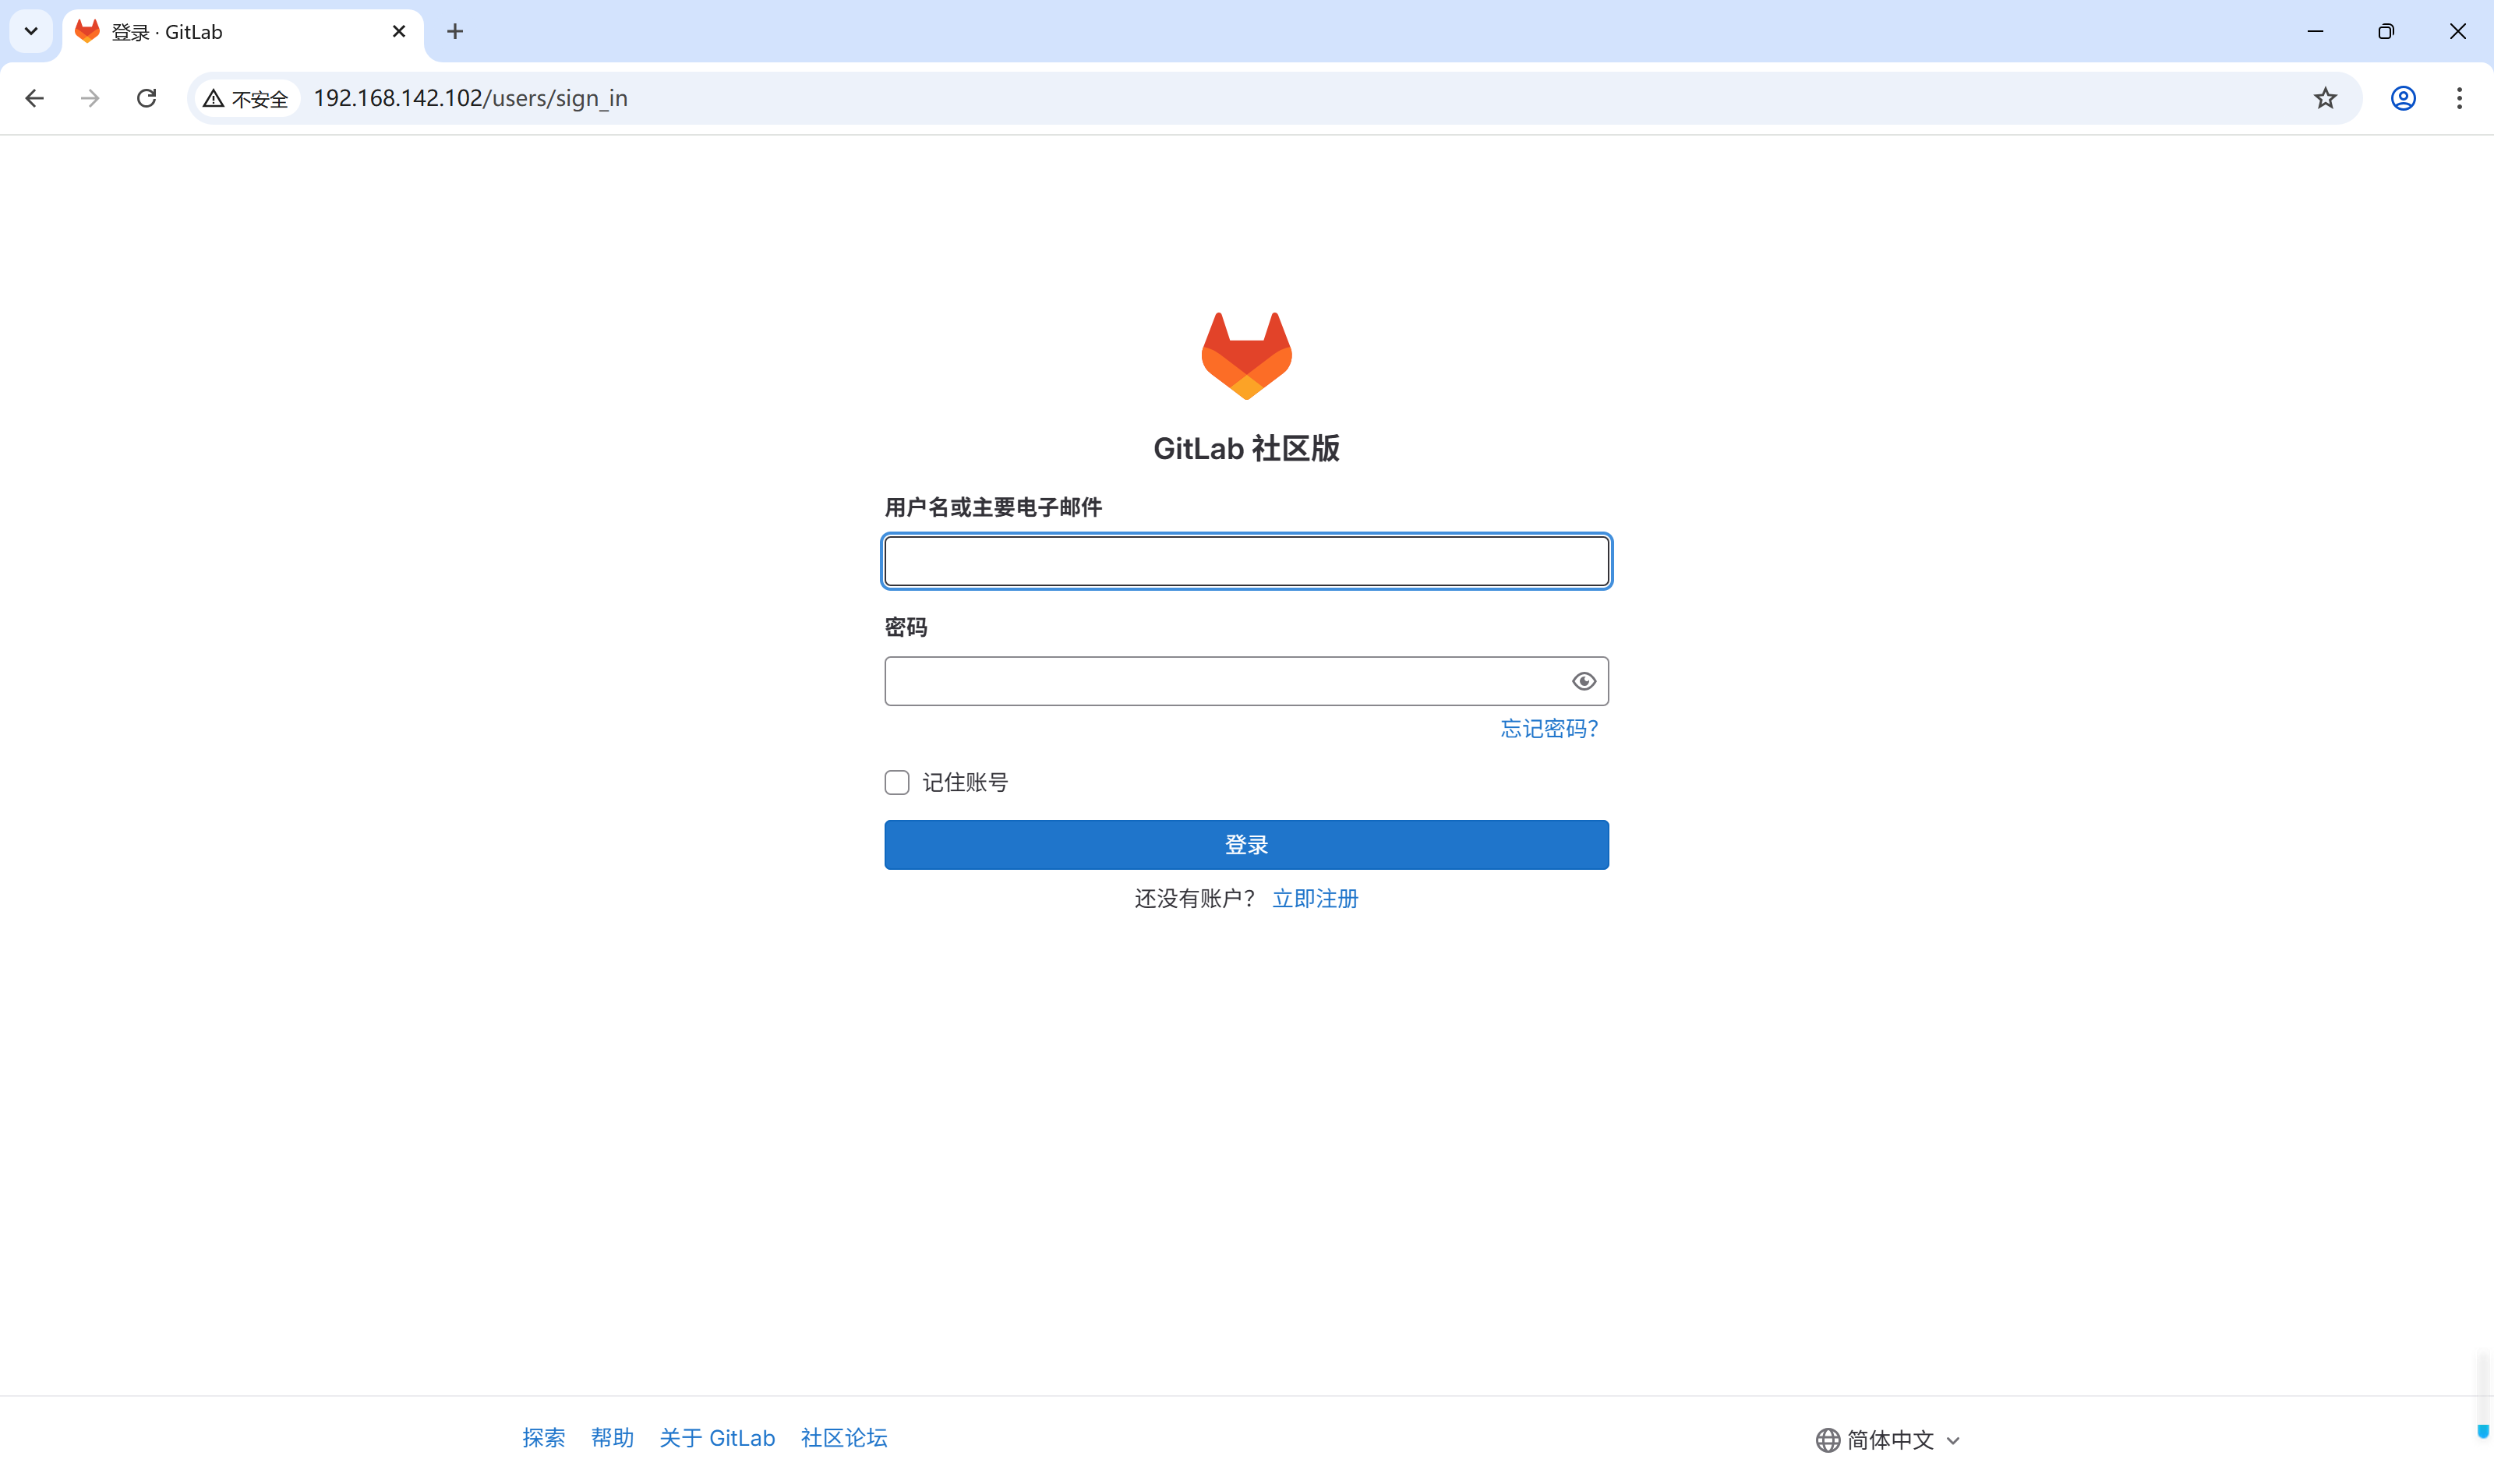
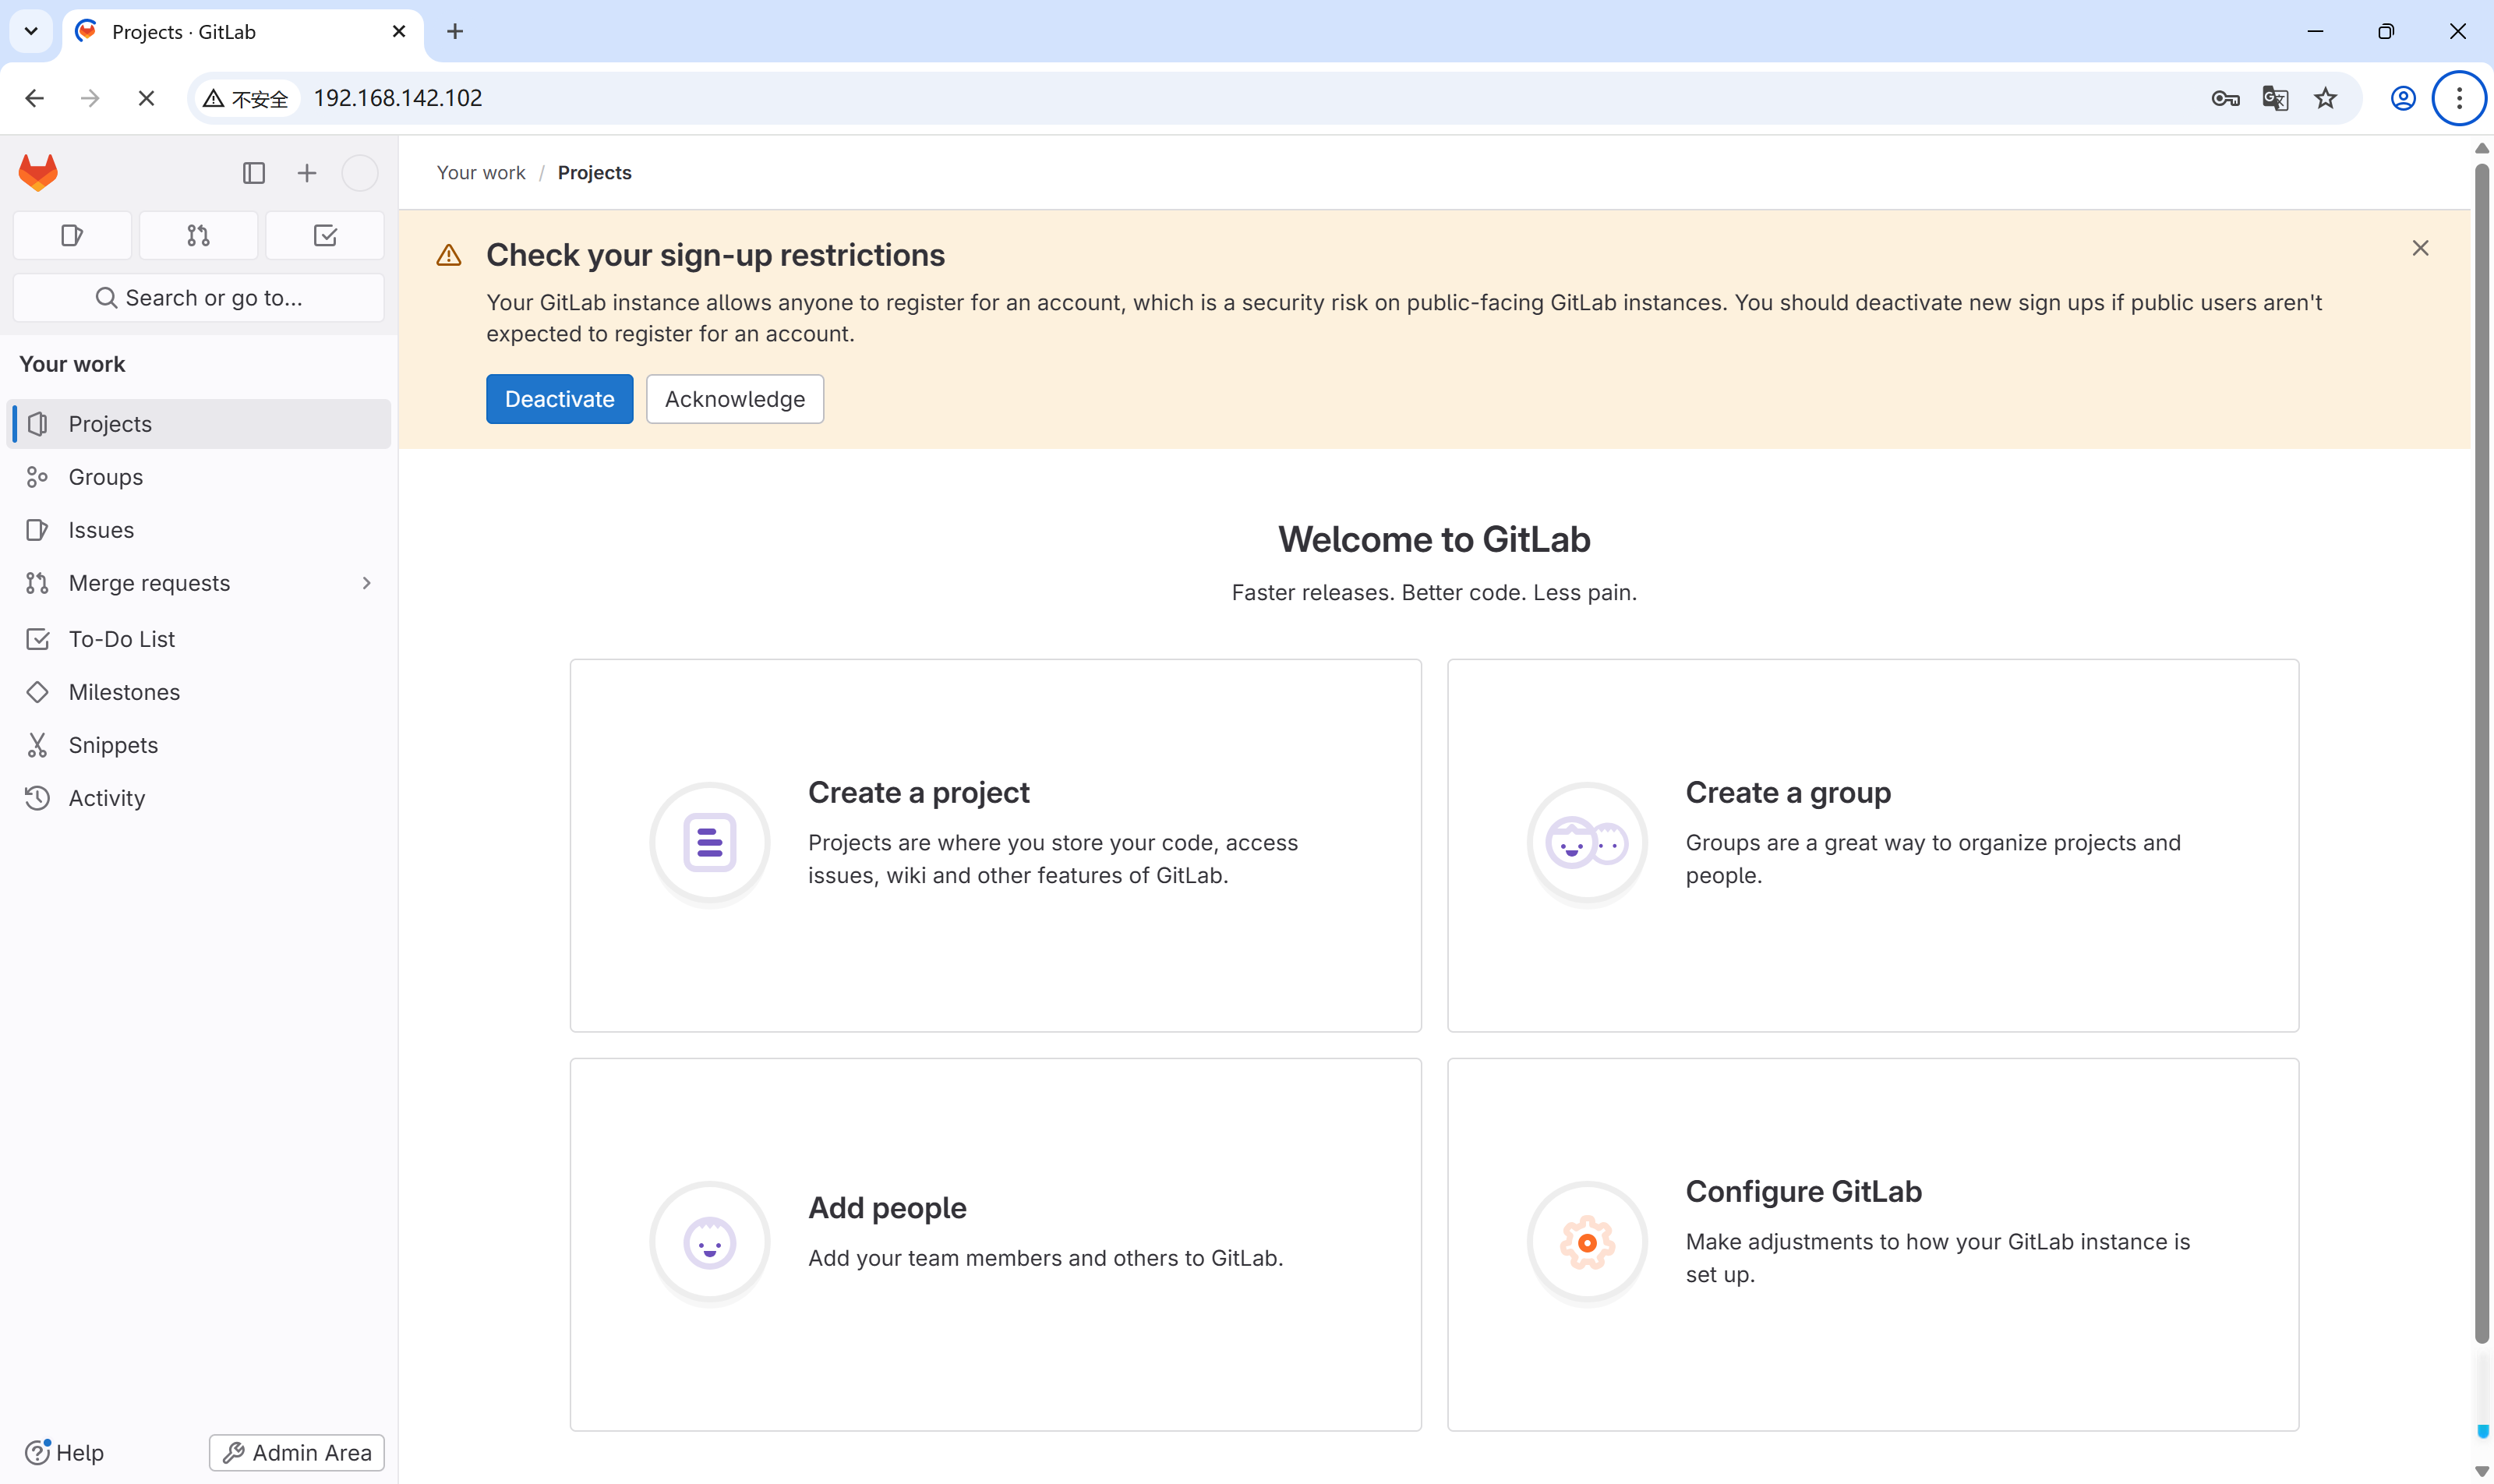
在window电脑上进入网址http://192.168.142.102,并使用初始密码登录,账号为root
(4).yum安装
通过官方脚本配置yum源,然后进行yum安装。注意:请保持网络通畅,要下的文件比较大
#安装依赖包
[root@localhost ~]# yum -y install curl policycoreutils openssh-server openssh-clients
#安装邮件服务
[root@localhost ~]# yum -y install postfix
[root@localhost ~]# systemctl start postfix
[root@localhost ~]# systemctl enable postfix
#查看是否yum安装gitlab
[root@localhost ~]# yum list all | grep gitlab
python2-gitlab.noarch                    1.3.0-3.el7.1                 epel
vim-fugitive-gitlab.noarch               0~20220701gitb73a8e-3.el7     epel
#执行官方脚本获取yum源
[root@localhost ~]# curl -s https://packages.gitlab.com/install/repositories/gitlab/gitlab-ce/script.rpm.sh | sudo bash
#检查上一个命令是否正确执行
[root@localhost ~]# echo $?
0
[root@localhost ~]# yum list all | grep gitlab
gitlab-ce.x86_64                         17.7.7-ce.0.el7               gitlab_gitlab-ce
python2-gitlab.noarch                    1.3.0-3.el7.1                 epel
vim-fugitive-gitlab.noarch               0~20220701gitb73a8e-3.el7     epel
#yum安装
[root@localhost ~]# yum -y install gitlab-ce
#修改配置文件
[root@localhost ~]# vim /etc/gitlab/gitlab.rb
#external_url 'http://gitlab.example.com'修改为本机IP地址,之后保存退出
external_url 'http://192.168.142.102'
#重新配置gitlab,会比较久,请耐心等待
[root@localhost ~]# gitlab-ctl reconfigure
[root@localhost ~]# echo $?
0
#查看gitlab状态
[root@localhost ~]# gitlab-ctl status
run: alertmanager: (pid 13966) 2867s; run: log: (pid 13840) 2895s
run: gitaly: (pid 13926) 2870s; run: log: (pid 13223) 3010s
run: gitlab-exporter: (pid 13941) 2869s; run: log: (pid 13671) 2912s
run: gitlab-kas: (pid 13418) 3001s; run: log: (pid 13436) 2998s
run: gitlab-workhorse: (pid 13906) 2871s; run: log: (pid 13570) 2931s
run: logrotate: (pid 13140) 3025s; run: log: (pid 13148) 3024s
run: nginx: (pid 13919) 2870s; run: log: (pid 13624) 2924s
run: node-exporter: (pid 13935) 2870s; run: log: (pid 13645) 2918s
run: postgres-exporter: (pid 13976) 2867s; run: log: (pid 13862) 2889s
run: postgresql: (pid 13255) 3007s; run: log: (pid 13292) 3005s
run: prometheus: (pid 13951) 2868s; run: log: (pid 13793) 2901s
run: puma: (pid 13482) 2945s; run: log: (pid 13496) 2942s
run: redis: (pid 13170) 3019s; run: log: (pid 13179) 3018s
run: redis-exporter: (pid 13943) 2869s; run: log: (pid 13778) 2906s
run: sidekiq: (pid 13503) 2939s; run: log: (pid 13526) 2936s
#重启gitlab
[root@localhost ~]# gitlab-ctl restart
ok: run: alertmanager: (pid 14240) 1s
ok: run: gitaly: (pid 14251) 1s
ok: run: gitlab-exporter: (pid 14270) 0s
ok: run: gitlab-kas: (pid 14279) 0s
ok: run: gitlab-workhorse: (pid 14289) 1s
ok: run: logrotate: (pid 14306) 0s
ok: run: nginx: (pid 14315) 1s
ok: run: node-exporter: (pid 14324) 0s
ok: run: postgres-exporter: (pid 14340) 0s
ok: run: postgresql: (pid 14352) 1s
ok: run: prometheus: (pid 14386) 0s
ok: run: puma: (pid 14399) 1s
ok: run: redis: (pid 14404) 0s
ok: run: redis-exporter: (pid 14411) 0s
ok: run: sidekiq: (pid 14421) 0s
#查看gitlab初始密码
[root@localhost ~]# cat /etc/gitlab/initial_root_password
......
Password: SuNptCkqTymnM5GdRSIyATW749YRavdM8XmAfDGI7g8=
......
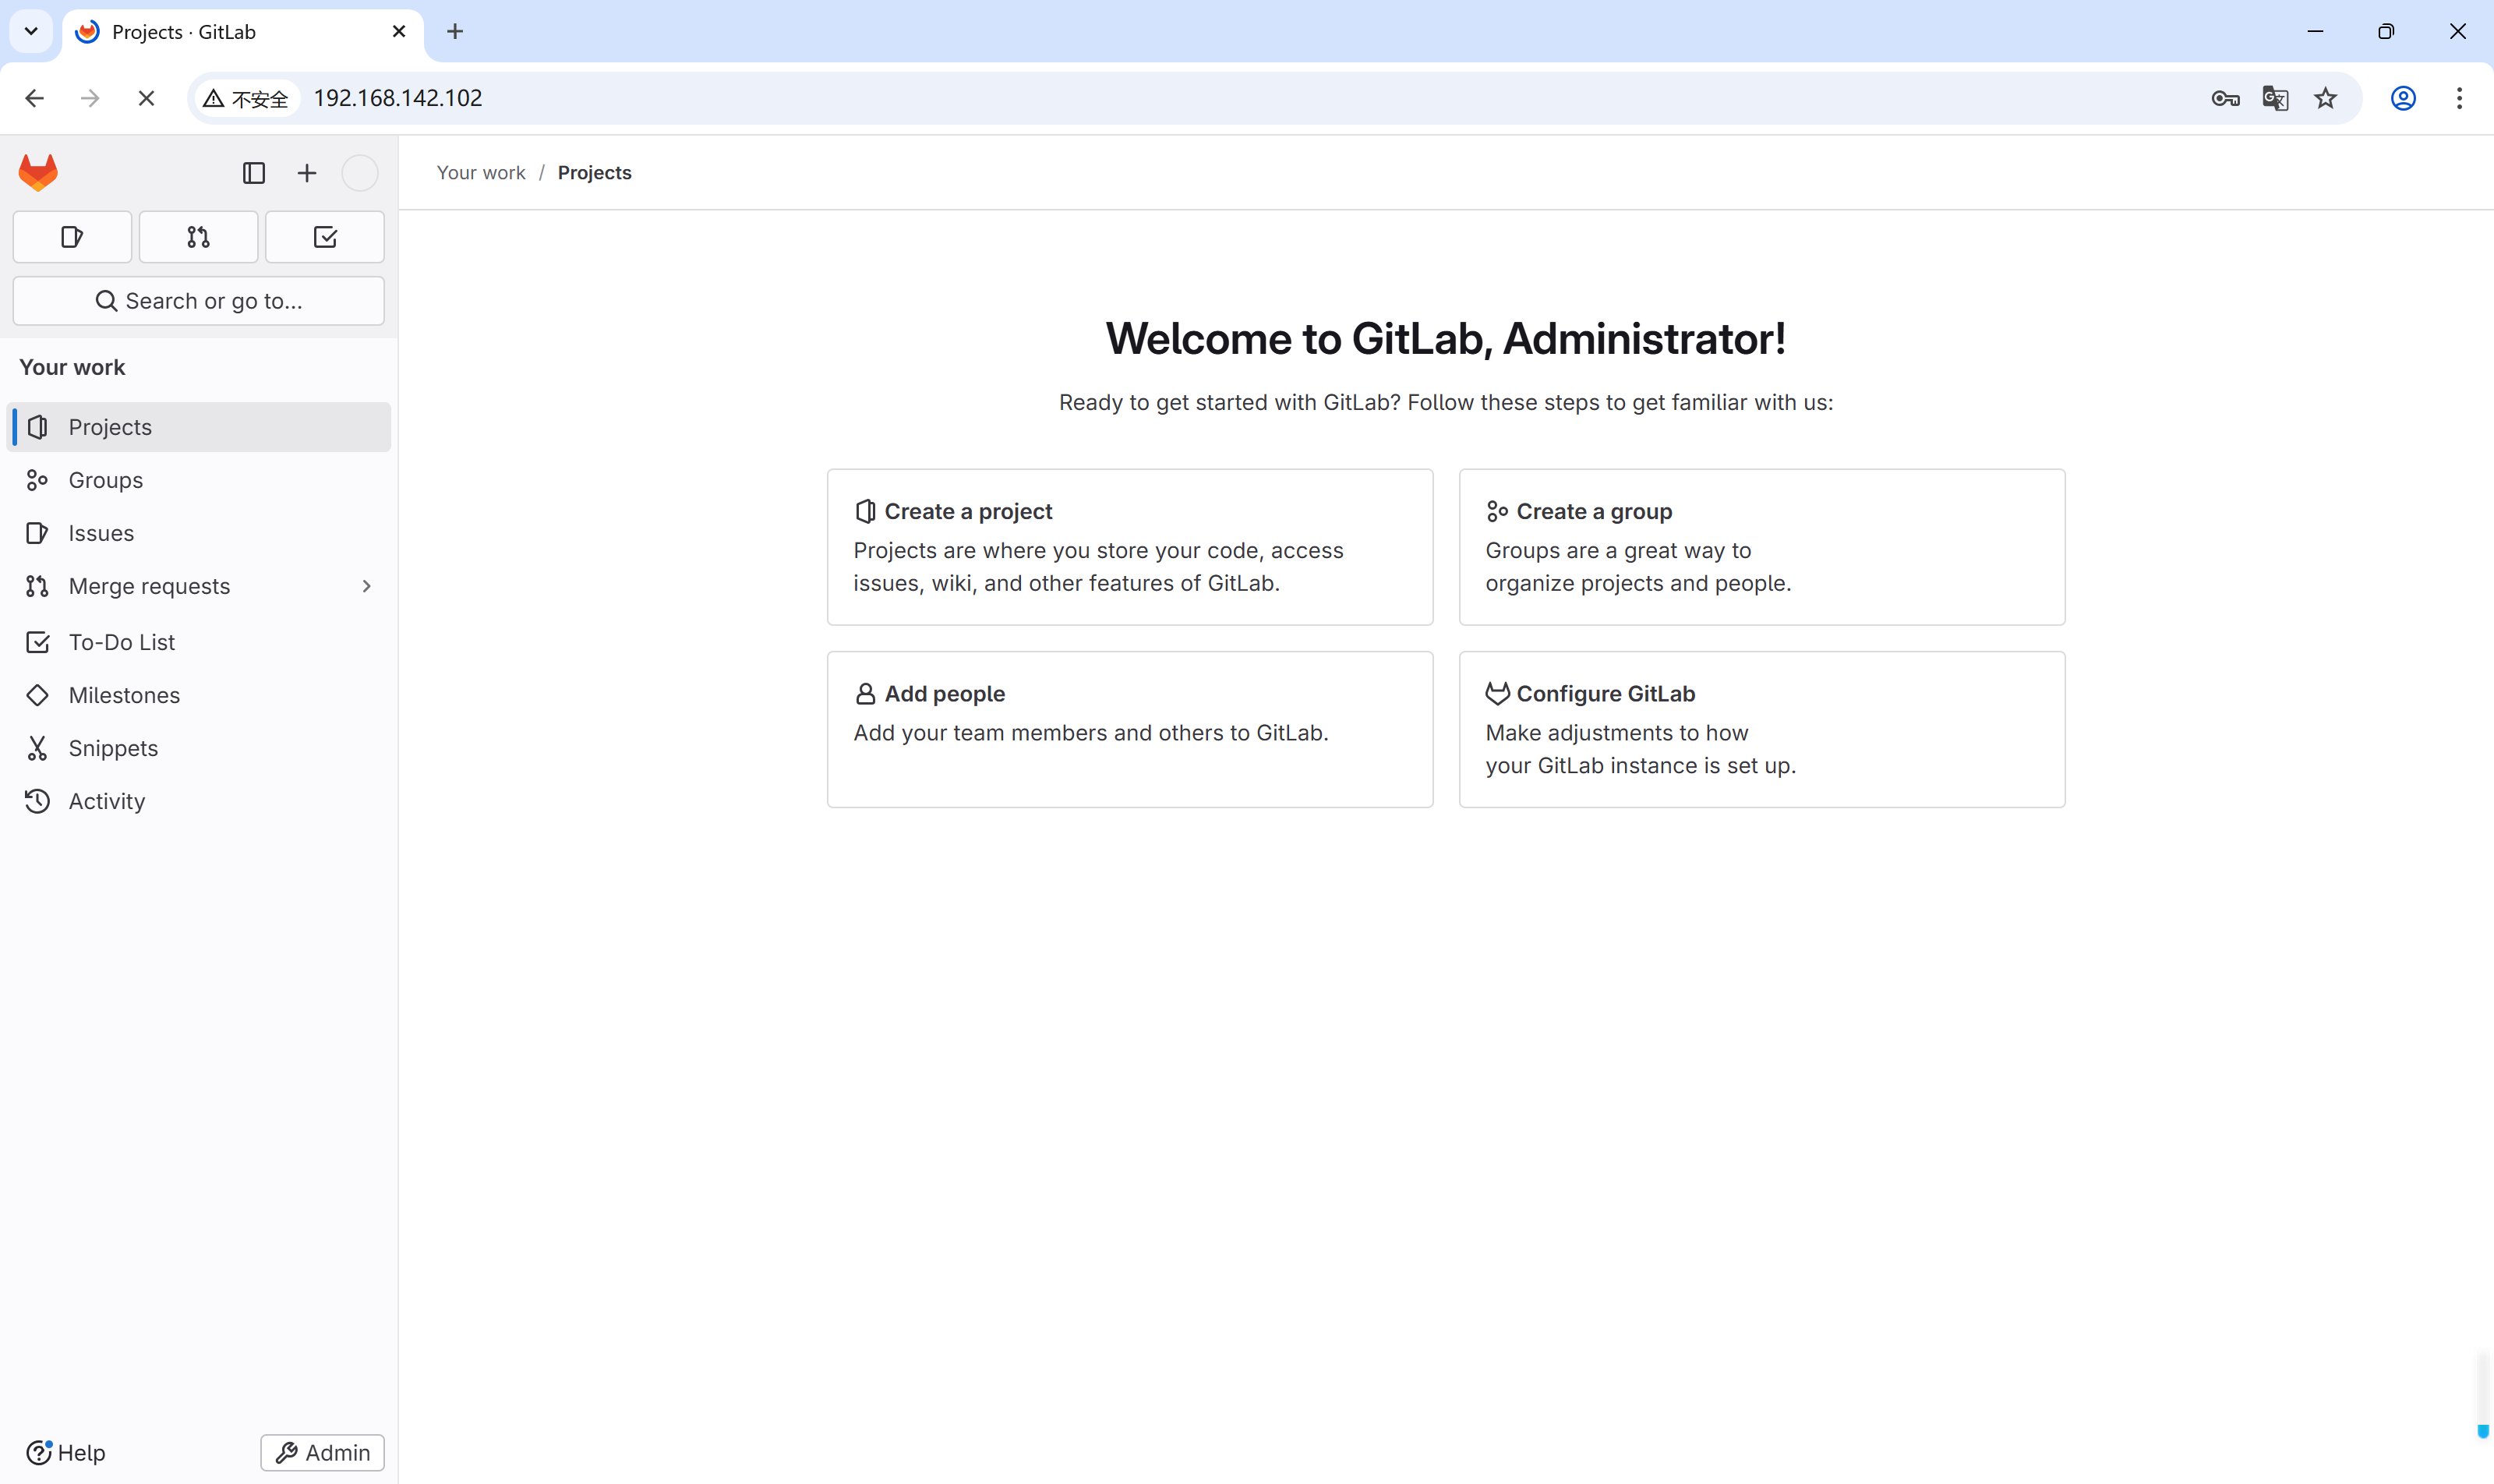
在window电脑上进入网址http://192.168.142.102,并使用初始密码登录,账号为root

(5).gitlab常用命令
gitlab-ctl start                #启动gitlab所有组件
gitlab-ctl stop                 #停止gitlab所有组件
gitlab-ctl restart              #重启gitlab所有组件
gitlab-ctl status               #查看服务状态
vim /etc/gitlab/gitlab.rb       #修改gitlab配置文件,修改完需要重新配置gitlab
gitlab-ctl reconfigure          #重新配置gitlab
gitlab-ctl tail                 #查看实时日志
参考:https://cloud.tencent.com/developer/article/1860396
https://blog.csdn.net/abcdu1/article/details/134999603